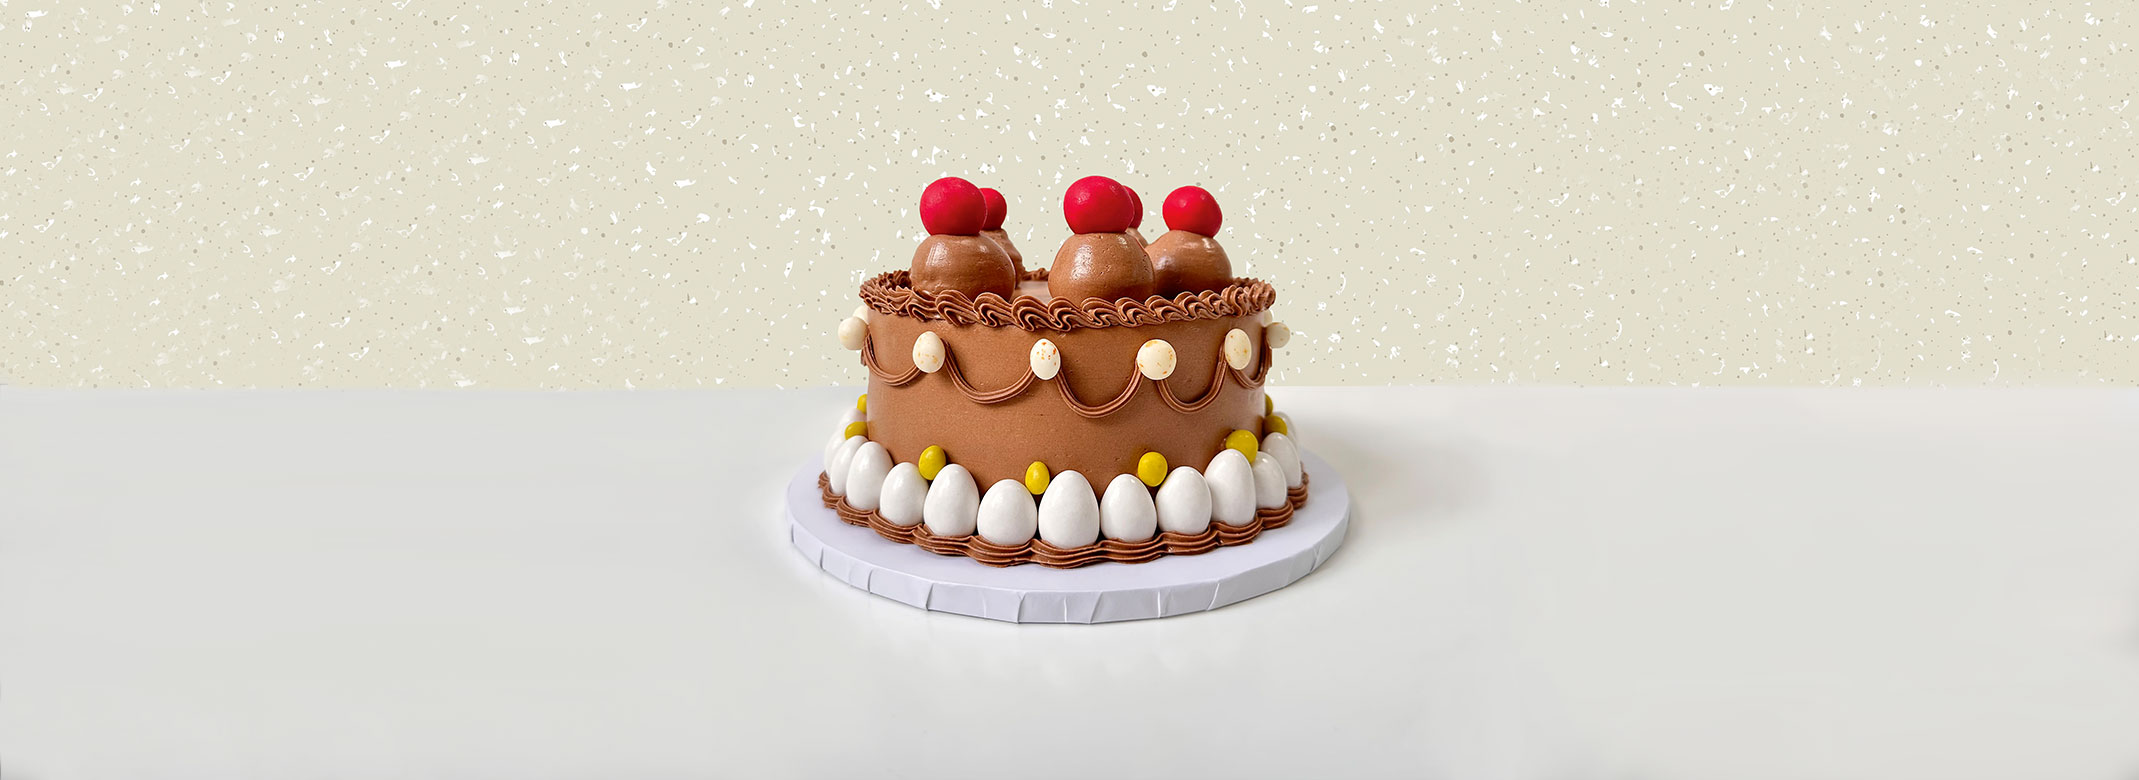
Decadent and delicious, this gorgeous gluten free cake is sure to be a hit with guests this Easter.
A-list baker and London institution, Lily Vanilli has recently launched her first ever online academy – a subscription service offering detailed how-to guides, videos, piping-practise sheets and shopping lists to guide users through baking and decorating cakes in her inimitable style. Subscribers can tackle projects like this moreish cake that’s just perfect for an Easter party.
Cake Ingredients
250g
light brown sugar | 250ml
neutral oil, like sunflower | 110g
cocoa powder | 2
eggs | 250ml
whole milk | 70g
ground almonds | 140g
gluten free flour | 2 tsp
bicarbonate of soda | 1/2 tsp
salt | 200ml
brewed, cooled coffee (not espresso)
Method
- Preheat the oven to 180°C fan/gas mark 6 and grease 2 x 8inch cake tins.
- Make up coffee and leave to cool completely (alternatively, brew a double strength coffee and add cold water to cool it).
- Mix the brown sugar and oil together in the bowl of a stand mixer on high for 3 mins, then on a low speed add the eggs and milk and beat to combine evenly (you could also do this by hand).
- In a separate bowl, whisk together all your dry ingredients evenly.
- Add them to your mix and beat until smooth.
- Now add the cooled coffee and mix everything to combine evenly.
- Divide equally between your two cake tins
- Bake for 30-35 mins or until a toothpick inserted in the centre comes out clean.
Buttercream Ingredients
150g
egg white| 200g
caster sugar| 400g
unsalted butter (this must be soft but not melted – no need to chop or cube this, I just soften the whole block. If a small amount is melted, don’t worry, add it in! If a lot is melted, you messed up (sorry!) and need to redo it) | 4 tbsp
cocoa powder (you can leave this out for a plain buttercream, or add another flavour you like)
Method
- In the bowl of your stand mixer, whisk together your caster sugar and egg whites evenly.
- Place this over a pan of simmering water to dissolve the sugar. You don’t need to mix this constantly, but keep an eye on it – it will take around 5 mins and you want to give it a mix from time to time. One thing that can go wrong in the making of Swiss meringue buttercream is overcooking your egg whites – avoid this by not letting the bowl get too hot, and by giving it the occasional stir.
- It’s ready when the mixture is no longer grainy to the touch (rub some of the mixture between two fingers – if you can’t feel any crystals, it’s done! If you can feel even one little grain, it’s not ready – give it a bit longer).
- Now transfer the bowl directly to your mixer, and with the whisk attachment whip it up on the highest speed until you have stiff peaks (you have stiff peaks when you can lift up your beater and get a nice peak that stays put, holding its shape).
- Now add all of your softened butter (you can add this at once, no need to do it gradually), and beat again on high until it all comes together evenly and the butter is completely mixed in.
- Add the cocoa (if using), then beat again on a low speed to mix it in – so it doesn’t fly everywhere – then on a high speed just until it’s all evenly mixed in.
- Now turn your mixer down to low and let it whisk slowly until you have a smooth buttercream. This step helps knock out the air bubbles, so it’s smooth when you’re ready to ice. For a smooth finish on your cake, always complete this step just before using your buttercream. The ideal texture is slightly firm but silky smooth. If you leave it mixing too long it may get overly soft and runny, especially in summer, so keep an eye on it.
To Decorate
You can find more detailed instructions and guides to all the various techniques used on this cake in my online school classes:
- Using a dab of buttercream, secure your first layer of cake in place in the centre of your plate or cake board. Then, using a palette knife or spoon, spread an even layer of icing over the top of the layer and sandwich with the second layer.
- Now apply an even layer of icing to the outside of the cake to serve as a ‘crumb coat’, set this in the fridge until it’s firm to the touch. 3. Once set, apply another even layer of icing across the outside, using a palette knife and a cake scraper to create a smooth surface.
- Decorate your cake as you wish – I used Lavolio Easter eggs and some piping techniques Suitable for all skill levels, including complete beginners, the new classes are perfect for anyone who wants to grow their confidence as a cake decorator and learn some really achievable decorating tricks and techniques to use again and again.
For details, see lilyvanilli.com/online-cake-classes/